Signing a document on your iPhone has never been easier, thanks to built-in tools and apps that streamline the process.Whether you need to add your signature to a PDF or a Word document, your iPhone provides various methods to get it done quickly and securely. This means you can handle important paperwork without the need for a printer or scanner.
Using native apps like Files or third-party ones like Adobe Acrobat, you may sign documents electronically with just a few taps. Open the document, use the editing tools to add your signature, and email it back, maintaining a seamless and efficient workflow. This method enhances convenience and security, making document management simpler than ever.
These steps are easy to follow and can be completed in minutes, giving you peace of mind with minimal effort. Whether you are dealing with business contracts, school forms, or other documents, your iPhone has all the tools you need to sign them efficiently.
Digital Signatures Made Easy on Your iPhone
Built-In Tools: Markup is Your Friend
Your iPhone has a handy tool called Markup. It lets you sign PDFs and other documents right from your email, Files app, or other apps that support it. No need to download anything extra.
The Markup Method: Simple Steps
Third-Party Apps: More Options for Serious Signers
Adobe Acrobat Reader: The Popular Choice
Adobe Acrobat Reader is a well-known app for viewing and signing PDFs. It offers more features than Markup, such as the ability to add text, initials, and dates.
DocuSign: E-Signatures Made Easy
DocuSign is another popular app specializing in electronic signatures. It makes it easy to send documents for others to sign, track the progress of signed documents, and more.
HelloSign: Simple and Secure
HelloSign is a user-friendly app offering secure e-signatures. It integrates with cloud storage services like Dropbox and Google Drive, making it convenient to sign documents stored there.
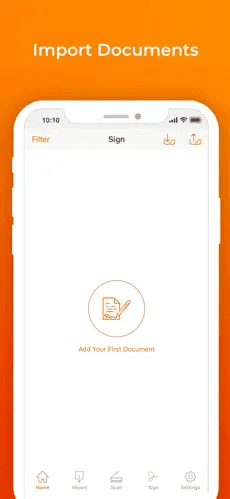
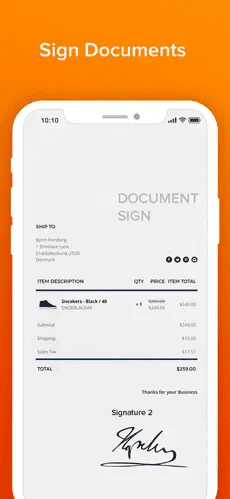
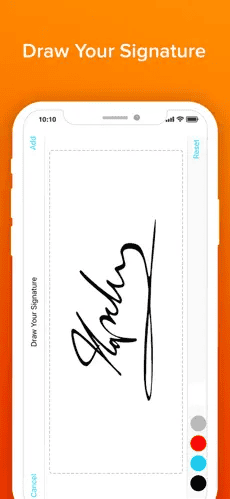
We also recommend the E-Signature & Document Scanner app:https://apps.apple.com/us/app/e-signature-document-scanner/id1306571435?platform=iphone
A Few Tips for Smoother Signing
With these tools and tips, you can easily sign documents on your iPhone, whether you’re at home, at the office, or on the go.
Key Takeaways
Preparing Your iPhone for Document Signing
To sign a document on your iPhone, you need to set up your signature and utilize the right apps. These steps will help you create a seamless document-signing experience.
Setting Up Your Signature
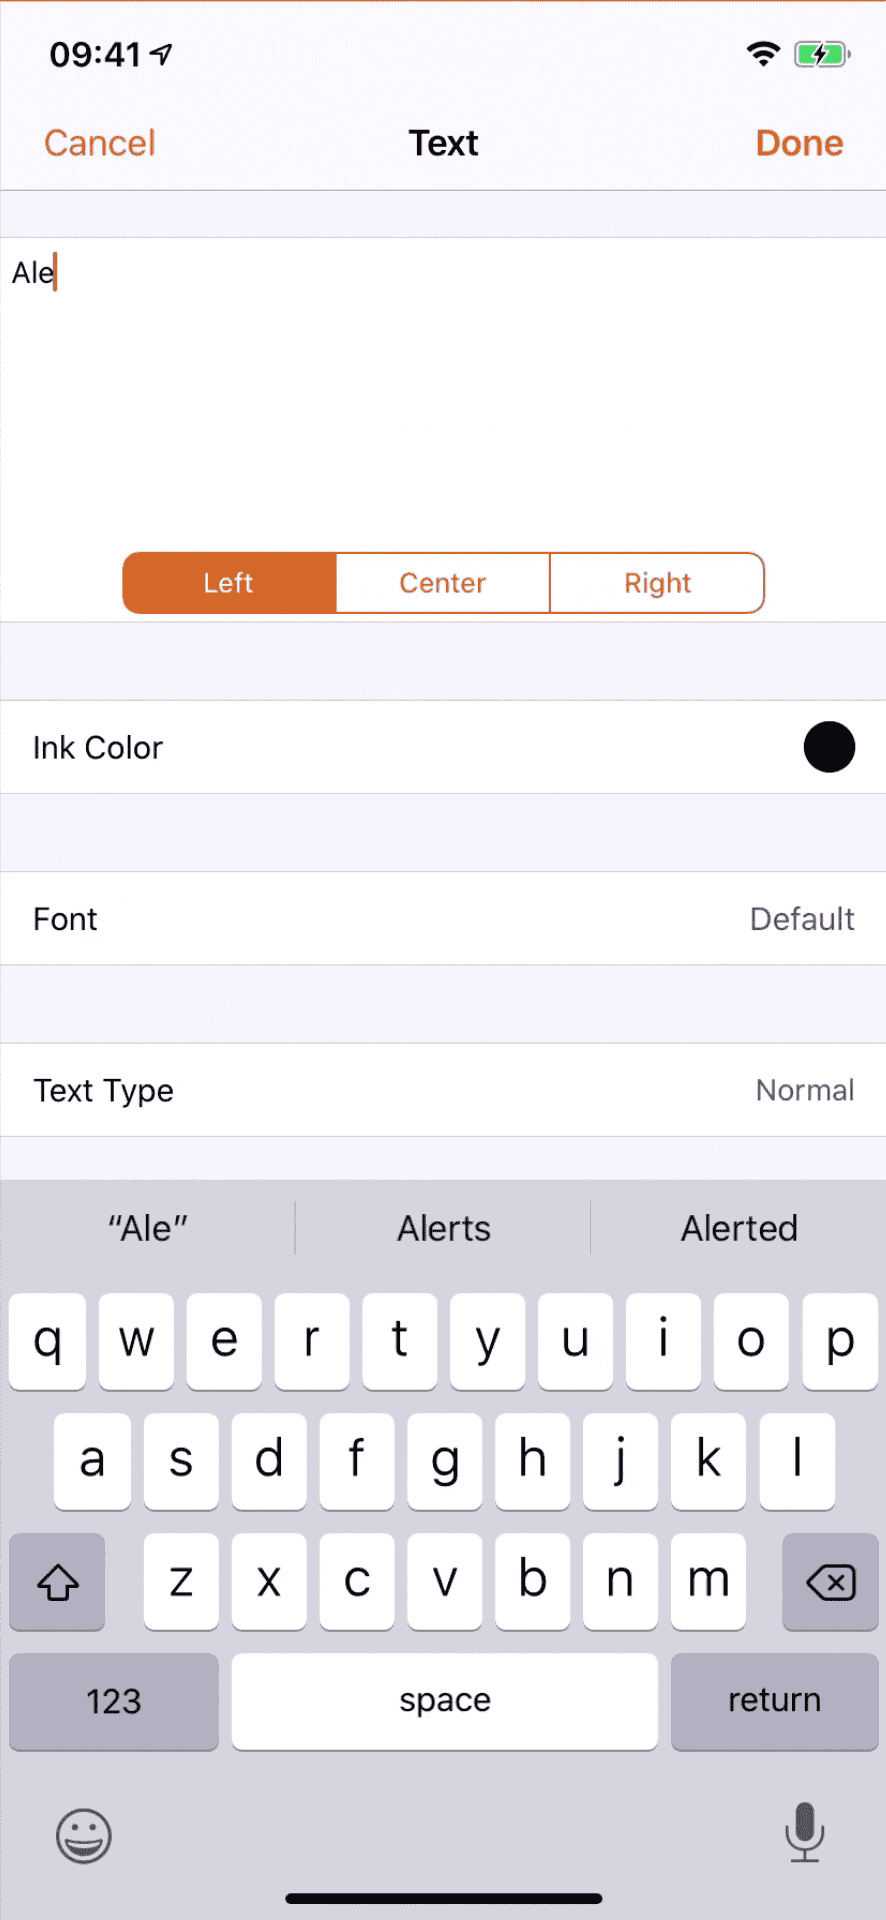
First, ensure you have a signature ready to use. You can create this in the Markup tool available in your iPhone’s Photos, Mail, and Files apps. Open a document, tap the Markup icon, and select the “+” button. Choose “Signature,” then sign with your finger or Apple Pencil. If it’s your first time, save your signature for future use.
verify the signature is clear. Practice if needed. Once saved, you can quickly add it to any document you need to sign. This way, you won’t need to recreate it each time.
Utilizing iPhone Apps for Signature
Several apps can help you sign documents on your iPhone. The Files app is great for handling PDFs and Word documents. Open the document, use the Markup feature, and simply insert your saved signature. Save or share the signed file as needed.
For more advanced options, consider third-party apps like DocuSign or Adobe Sign. These apps offer additional tools for verifying and managing signatures. They are available for download from the App Store.
The Mail app also supports signing emails with attachments. When you receive a document via email, open it, use the Markup tool to add your signature, and send it back. This makes signing and sending documents quick and easy.
Frequently Asked Questions
This guide will help you sign PDF documents, create handwritten signatures, fill out and sign PDF forms, sign Word documents, and use your iPhone’s apps like Gmail and Notes for document signing.
